

How To Repair Flat Tire
Get full access to Exterior Learn, our online teaching hub featuring in-depth fettle, nutrition, and adventure courses and more than 2,000 instructional videos when you sign up for Outside+.
Outdoor enthusiasts are more than subject than most to having to deal with a vehicle breakdown in a remote location where immediate assistance may not be bachelor. Since tire punctures are by far the most common trouble a vehicle will experience—and something more likely to happen on dirt roads—and since you lot tin can't always count on your spare tire, it makes sense for us to arm ourselves with the tools and knowledge information technology takes to repair them ourselves. Hither'southward how.
How Practice You Know You lot've Got a Puncture?
On a paved road, if your steering wheel starts to wobble vaguely in your hands, or if you hear a loud thumping audio that coincides with your wheels' rotation, then you've got a flat tire. Off-road, at lower speeds, you'll probable hear that thumping before you lot experience it. In both cases, avoid risking further damage to the tire or vehicle past finding the beginning safe location to pull off the road or trail.
Don't Rely on Your Spare
It'due south become less and less common for new vehicles to come equipped with a total-size spare tire. Space savers, or donuts, are only designed to get yous a very short distance at very low speeds—across town to the tire shop, basically. You should avert using a space saver on a dirt road or trail if at all possible.
And even if you have a full-size spare with a matching tire and wheel, information technology's still possible to puncture more than than one tire at a time. And man, that's going to cause a large problem if yous're not prepared or if it happens somewhere you can't easily phone call for help.
What You Need
The tools you should take to fix a flat tire yourself don't cost much more than than getting a tire plugged at a tire store. And they're hundreds of dollars cheaper than calling for a tow. They're also small and calorie-free. In that location's really no excuse for not conveying this stuff in your car or truck.
The best tire-repair kit I've plant is made by Boulder Tools and costs $38. Like other kits, it includes rope plugs and the tools y'all need to install them, but this one goes above and beyond by including items like needle-olfactory organ pliers, spare valve cores, and a folding razor blade.
You lot volition also need a compressor. That's what you'll utilise to reinflate your tire after you set the puncture, or how you'll air back upward to road pressures if you're airing down for off-route driving. If all you need is an emergency option, 1 of these $23 Slime compressors is perfect. Information technology plugs into your cigarette lighter (or 12-voltoutlet), so you don't even need to open your hood. You lot don't want to rely on something like this if you're regularly inflating oversize off-road tires, but that's a story for another time.
I also stick a tin can of Fix-a-Flat in every car my family unit owns, plus those of most of my friends. Gear up-a-Flat includes both a sealant and compressed air in a single tin, allowing you to take care of the kind of small punctures acquired by a spiral or blast without fifty-fifty removing the wheel. And that capability makes it a unique tool in your armory—ane that tin can come up in handy for even complicated repairs where it'southward not safe to to endeavour and remove a wheel or where gaining the ability to curlicue the automobile a few hundred yards can make the state of affairs much safer (think: a steep gradient off-road or the side of a busy highway, with trucks rushing past just feet away).
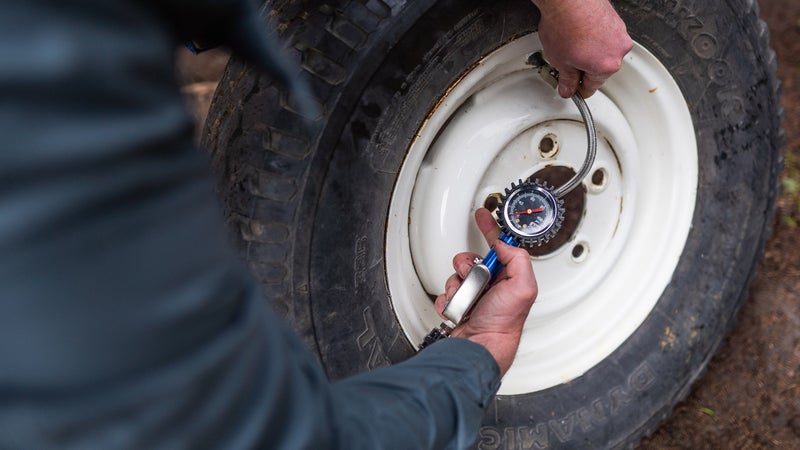
Everyone should also bear a quality tire-force per unit area gauge. Utilise information technology to bank check the pressure of your tires once a month, and suit them to mill-recommended settings if they're off. Ambience temperatures, elevation, and just time can all crusade a tire to lose or gain pressure, and when information technology does so, it can harm your fuel economy, handling, and performance.
Avoid Problem
Regularly audit your tires and replace them before the tread wears to 2/32nd of an inch deep. An like shooting fish in a barrel way to check this is to insert a penny upside down into the tread (Lincoln's head showtime). If the tread reaches by Honest Abe's hairline at his forehead, you lot're good. If not, social club new tires. Tires worn to or past 2/32nd of an inch of tread volition be much more prone to punctures and won't provide the aforementioned grip as a tire in good condition.
Tires also have a maximum life span of 6 years. To determine how former your tires are, look for the tire identification number on the sidewall: it begins with DOT, is 11 digits long, and ends in iv numbers. The beginning ii digits of those last four numbers represent the week (of 52 in a year) the tire was manufactured. The last 2 are the year.
If your tire shows whatever signs of cracking or tearing, or if anything white or metallic has worn through the safety, replace it immediately.
You too need to make sure yous're using an appropriate tire for the conditions you're facing. If you lot're traveling off pavement, a quality all-terrain tire volition help you avoid punctures both in the tread and, more importantly, the sidewall.
Make sure any vehicle you're driving has all of the necessary tire-change tools nowadays and accounted for. You lot'll need a lug wrench and a jack at a minimum. Don't exist that person who forgets to put them back into a car. I even check for these things in rental cars before driving off—they're that essential.
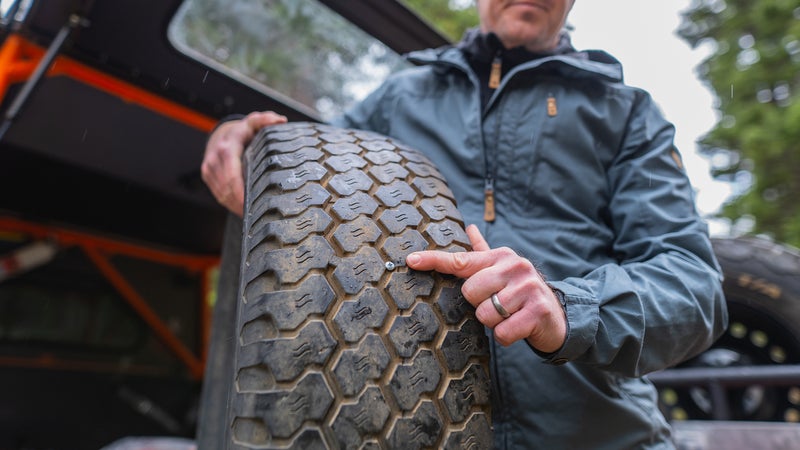
Pace I: Discover the Puncture
Once you're in a condom place, hop out of the car, and find the apartment tire. Try to identify the source of the puncture. Sometimes a foreign object will be very obvious at merely a glance. Sometimes y'all'll need to roll the automobile a foot or ii to betrayal the problem.
If y'all are able to run across that in that location'due south obviously a nail or screw embedded in your tire's tread, that's expert news. If the boom or spiral is strongly embedded into the tire'southward tread, there's no demand to remove information technology at this fourth dimension. Get out your tin of Fix-a-Flat, follow its directions to connect it to your tire valve, and empty the entire contents of the tin into the tire. You lot should see the tire visibly inflate. If it returns to normal, bulldoze off immediately, go a few miles, and then stop and check your tire force per unit area, adjusting it if necessary. If the tire seems to be belongings air, you're proficient to continue driving, but take a wait at the tire any fourth dimension you terminate. When you get back from your trip and have the time, get alee and follow the remainder of the steps hither to repair the puncture with a plug.
If yous tin't find the source of the puncture, if it'due south an exposed hole, or if you don't have a can of Fix-a-Flat, you lot'll need to have the cycle off.
Footstep Two: Remove the Bicycle
Commencement, remove your spare (even if it's a infinite saver), and place it under the frame of your vehicle in front end of the forepart tire or behind the rear tire. That way, if your vehicle falls off its jack, it volition fall onto the spare, minimizing injury to you lot and damage to the car.
Loosen the lug basics before y'all raise the vehicle. Remember: lefty loosey.
Adjacent, follow the instructions in your owner's manual to locate and utilise the jack accordingly.
Once the bicycle is off the ground, finish removing the lug nuts. Put them somewhere rubber. Pull the wheel out toward your body. Be careful—wheels can be heavy.
Step Three: Evaluate the Puncture
If you have a hole in your tread, information technology can be fixed. Tires in good status won't experience more a unproblematic pigsty in that location. If the hole is in your sidewall (the portion of the tire that rides roughly vertical), you just demand to mount your spare and have the tire replaced at the first possible opportunity.
If the hole is in the tire's tread and can't be taken care of by but dumping a can of Gear up-a-Apartment into it, scroll the tire effectually to the back of your vehicle where tools are and where you can safely work away from traffic. Look for holes and strange objects as y'all roll it. If a hole is small and the tire is no longer leaking air, it may be a proficient idea to mark the hole for easy reference subsequently.

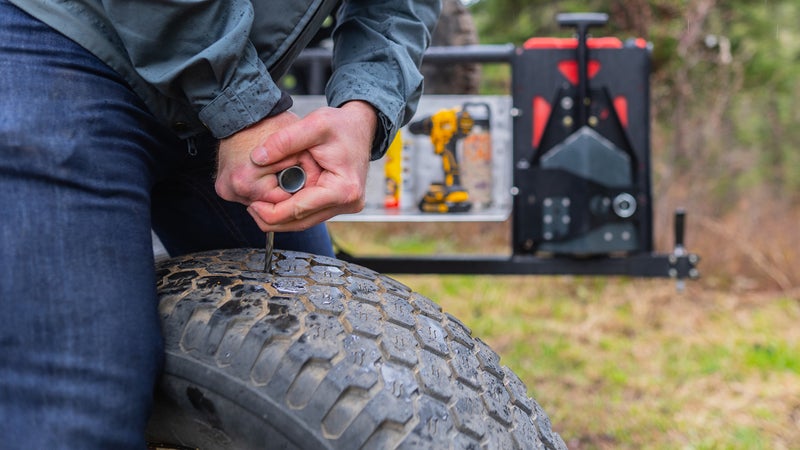
Footstep Iv: Remove the Problem
If there'due south a foreign object in your tire, and the tire can no longer hold air, remove it. In the video, I used a spiral gun to put the screw in the tire, meaning its threads engaged with the prophylactic and steel belts. Nearly roads don't have their own screw guns, and then the puncture won't engage the threads in the same way, and it should be easier to pull out using your needle-nose pliers.
I've seen tires punctured by everything from a steel bar to a especially nasty cactus barb. Organic objects like tree branches tin can get out residual behind. Try and get all of that out of the way.
Footstep Five: Enlarge the Hole
If the hole is larger than a pencil, skip this step. If non, grab your tire-repair kit'southward reamer, and use it to overstate the hole until it is roughly the size of a pencil.
If yous accept a very small hole, this will exist difficult at kickoff. Install the reaming tool by slowly screwing it into the tread while applying downward pressure level. Otherwise, just button the tool into the hole all the way up to the handle, and so yank information technology out. Echo until the hole is large enough that you can insert and remove the tool without much effort.
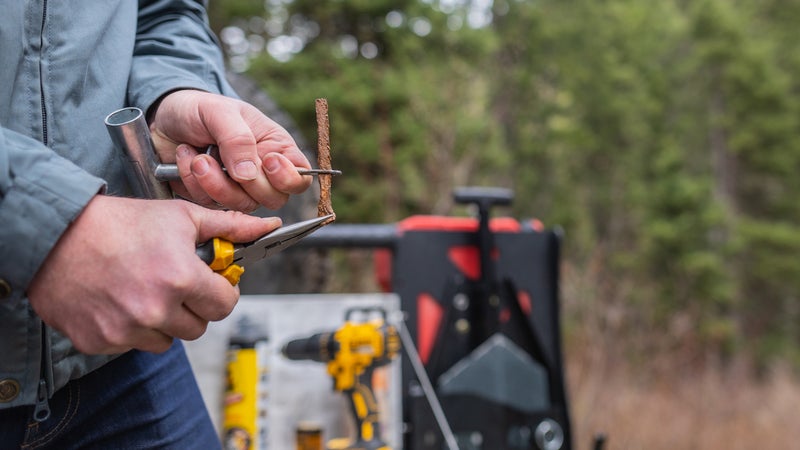
Step Vii: Install the Plug
Remove a rope plug from the plastic wrapper, flatten one cease with the needle-nose pliers, and button it through the eyelet on the installation tool. Grasp the protruding edge of the plug with the pliers, and pull information technology through the eyelet until equal lengths of the plug protrude from both sides.
Grab a finger of lube from the kit, and utilise it to the plug and leading edge of the tool.

Place the tool tip down on top of the hole in the tire, grasp the tool securely with both hands, and force information technology through the tire until the depth guide is affluent with the tread. Then yank the tool straight out of the hole as hard and fast as you tin can. The rope plug should laissez passer through the eyelet and remain inside the tire.
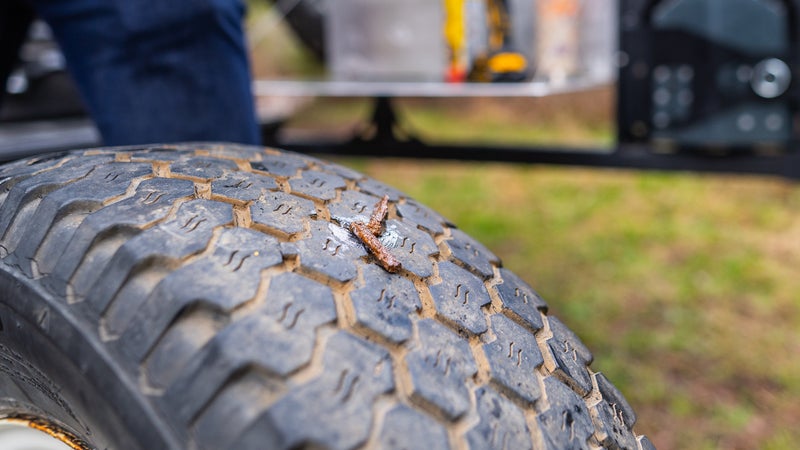
If you have only a small puncture, ane plug should do. If non, y'all may need to install a second or 3rd. If you must install multiple plugs, then plan on taking that tire to a shop the starting time possible opportunity, where it can be evaluated for condom. You may have to supercede it. But almost of the time, that single plug volition be enough. Use the razor to trim the excess length affluent with the tire tread.
Stride Eight: Reinstall the Wheel
Use your air compressor to inflate the tire to the recommended force per unit area. (You'll find that listed inside the driver's doorjamb.) Once inflated, opposite the tire-removal steps described higher up to reinstall the cycle. Kickoff, install the lug nuts by manus to secure the wheel to the hub.And so, once you've lowered the vehicle dorsum down and removed the jack, use the lug wrench to make certain all the lug basics are every bit tight as possible. Tighten them in a star pattern, so the wheel snugs dorsum to the hub evenly. Call up: righty tighty. Check these again later that solar day.
Render all your tools, the jack, and the lug wrench to their proper locations. You'd don't want to misplace this stuff.
And that'south it. No tow truck. No hiking out a dirt road in search of aid. No waiting on AAA while sitting on the side of a busy highway. No huge expense. And no more than a few minutes of hard work.
Source: https://www.outsideonline.com/outdoor-gear/cars-trucks/how-to-fix-flat-tire/
0 Response to "How To Repair Flat Tire"
Post a Comment